

Blocking: The Final Step of a Knitting Project
UPDATED: SEPTEMBER 2020
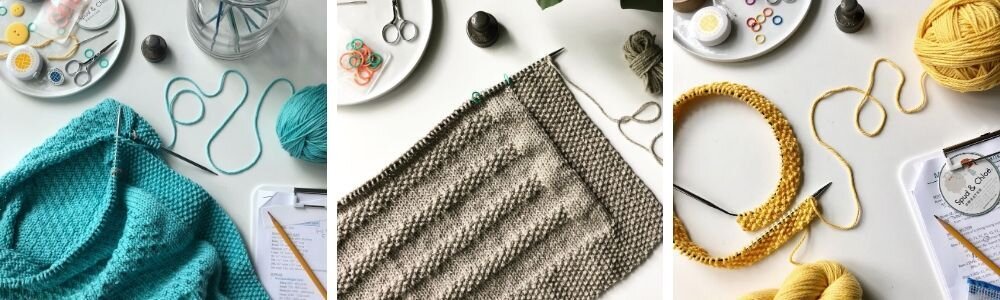
Blocking your finished knitting project makes a big difference in the appearance of your project!
Wondering if your project really needs to be blocked? Scroll to the bottom of this post and see a couple before and after comparisons. It’s like a wrinkled shirt from the bottom of the laundry basket compared to a freshly ironed shirt. The ironed shirt looks crisp and professional and the wrinkled shirt…well it doesn’t look great!
If you have not blocked a finished knitting piece before, it's not hard... it just takes a little extra time. Blocking is worth the effort! Blocking often transforms a project from “average” to professional and polished.
Pin the image below to save it on your Pinterest knitting board! Click here to see my Pinterest page.
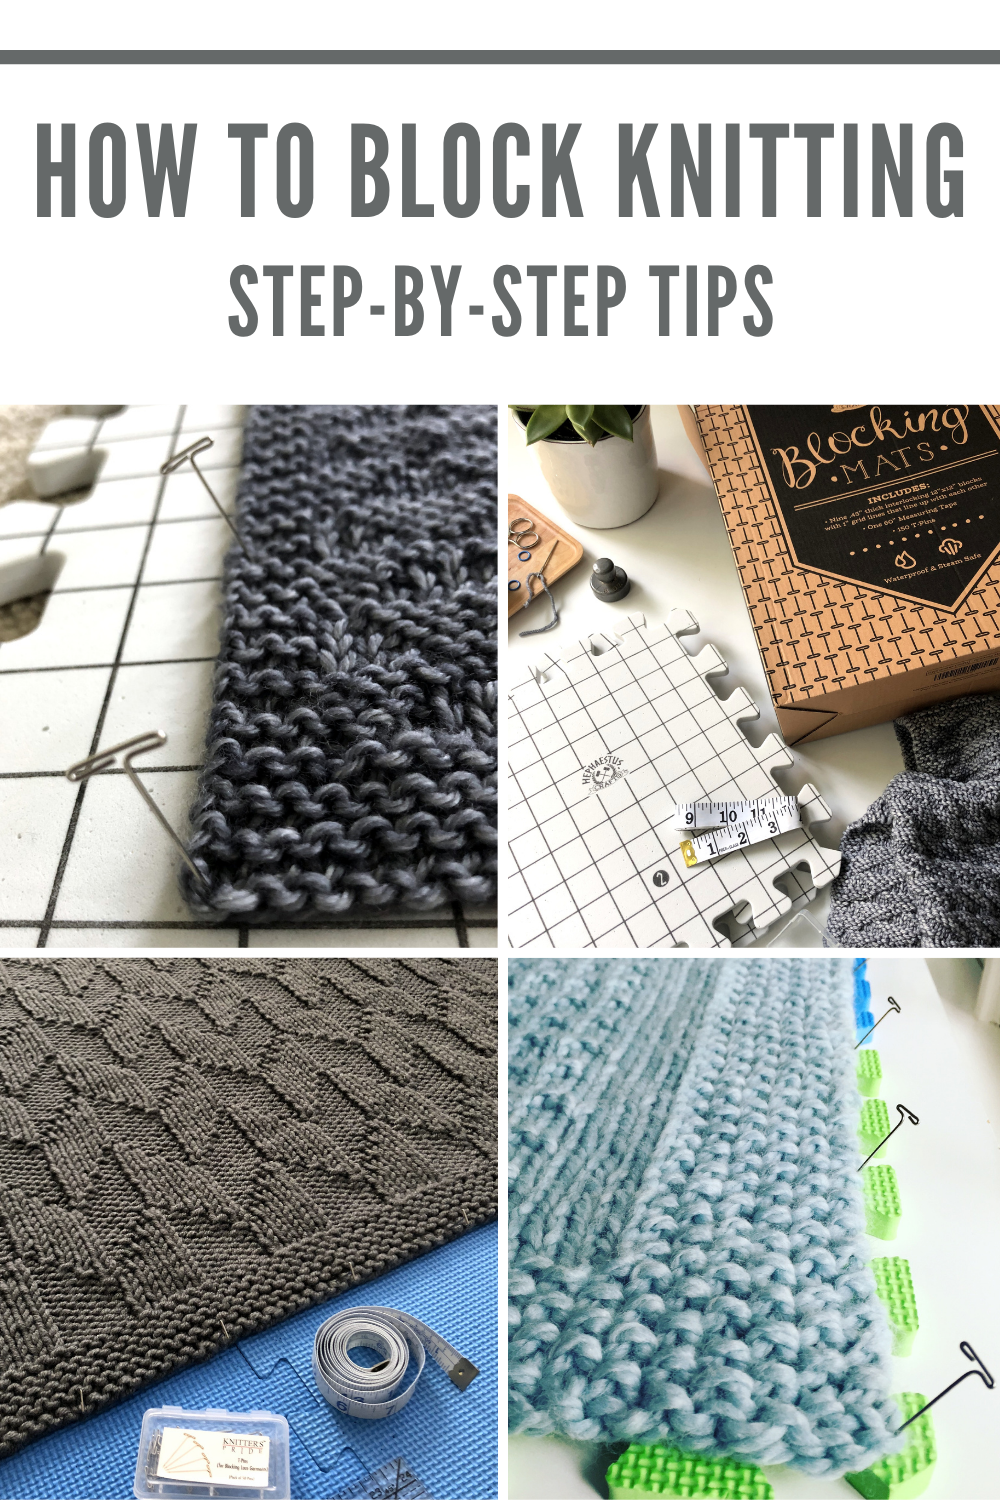
Here's a step by step guide....
How to block a blanket, scarf or other knitting project:
1. Weave in all the ends on the back of your knitting.
One exception to this tip is if you are blocking pieces that will be sewn together later… such as the Traveling Afghan sampler style knitting project. In that case, I leave the ends at the cast on and cast off points loose so they can be used for sewing up seams later.

First, weave in all the ends on the back (wrong side) of the knitting.
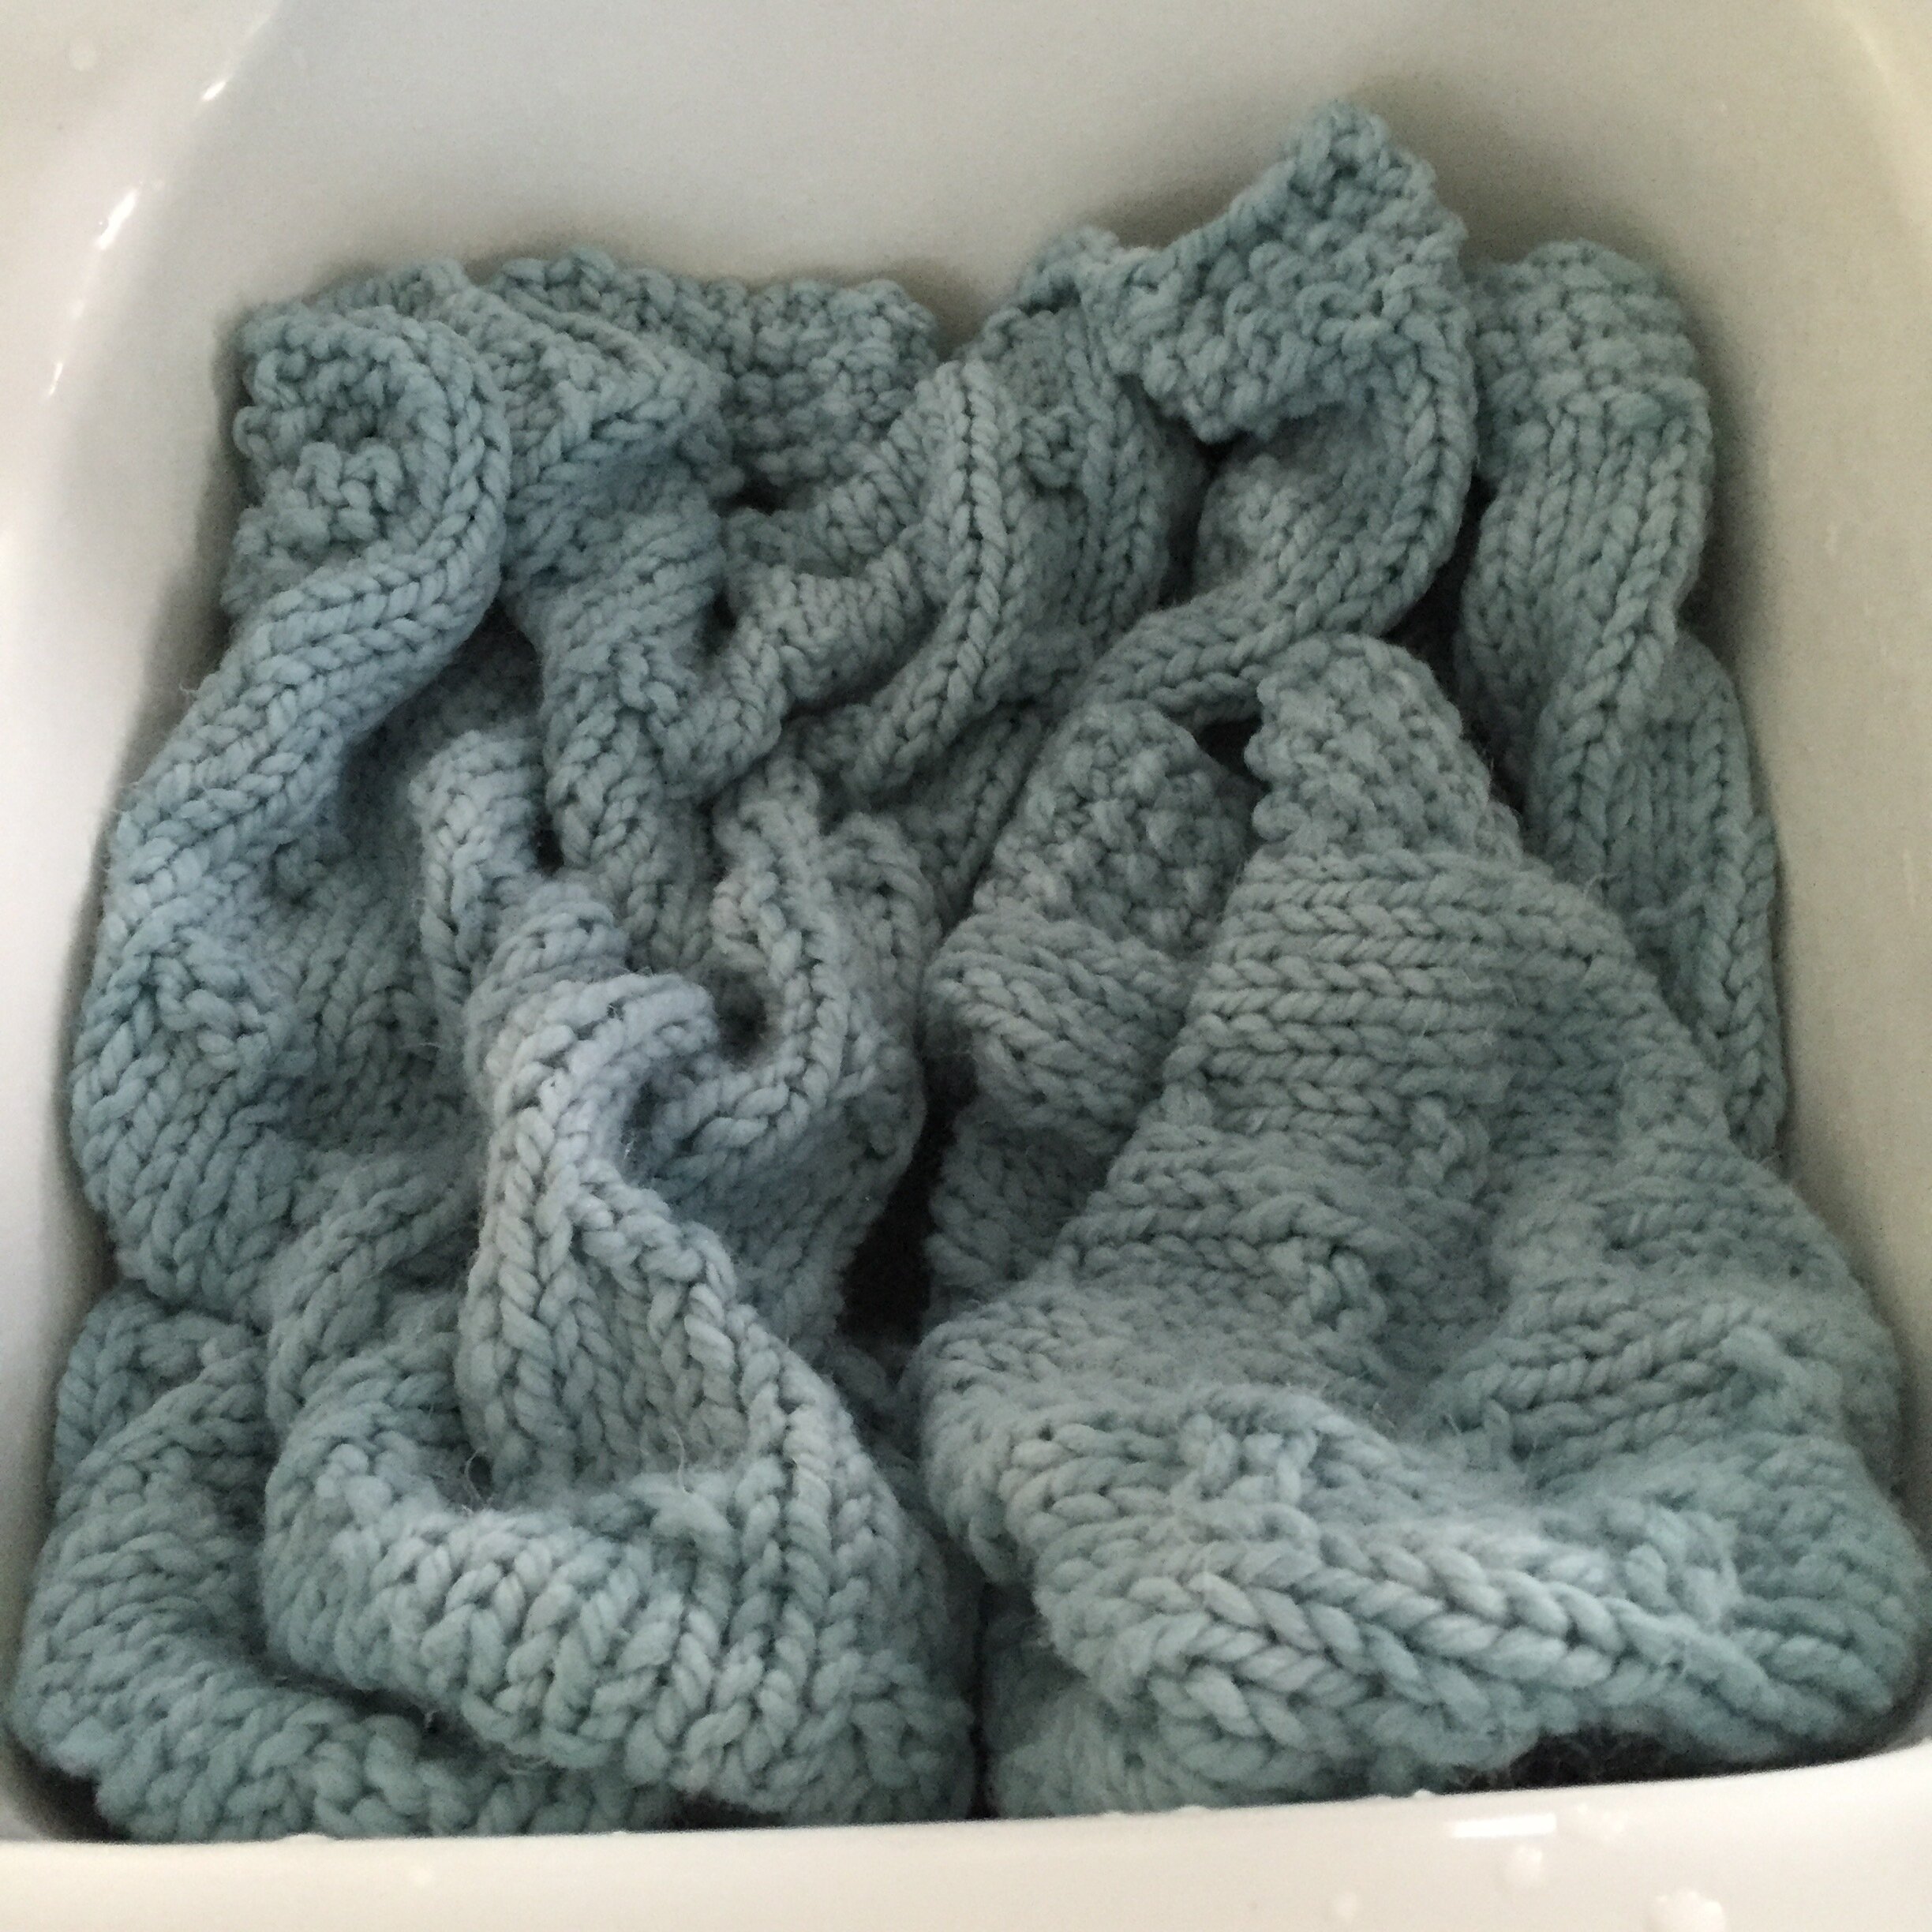
2. Soak the knitting in cold water for 20+ minutes in the kitchen sink, a large bowl or a large pot. Use your hand to push the knitting under the water so all parts of the knitting are submerged and wet.

Place knitting in a sink or large bowl and add cold water.
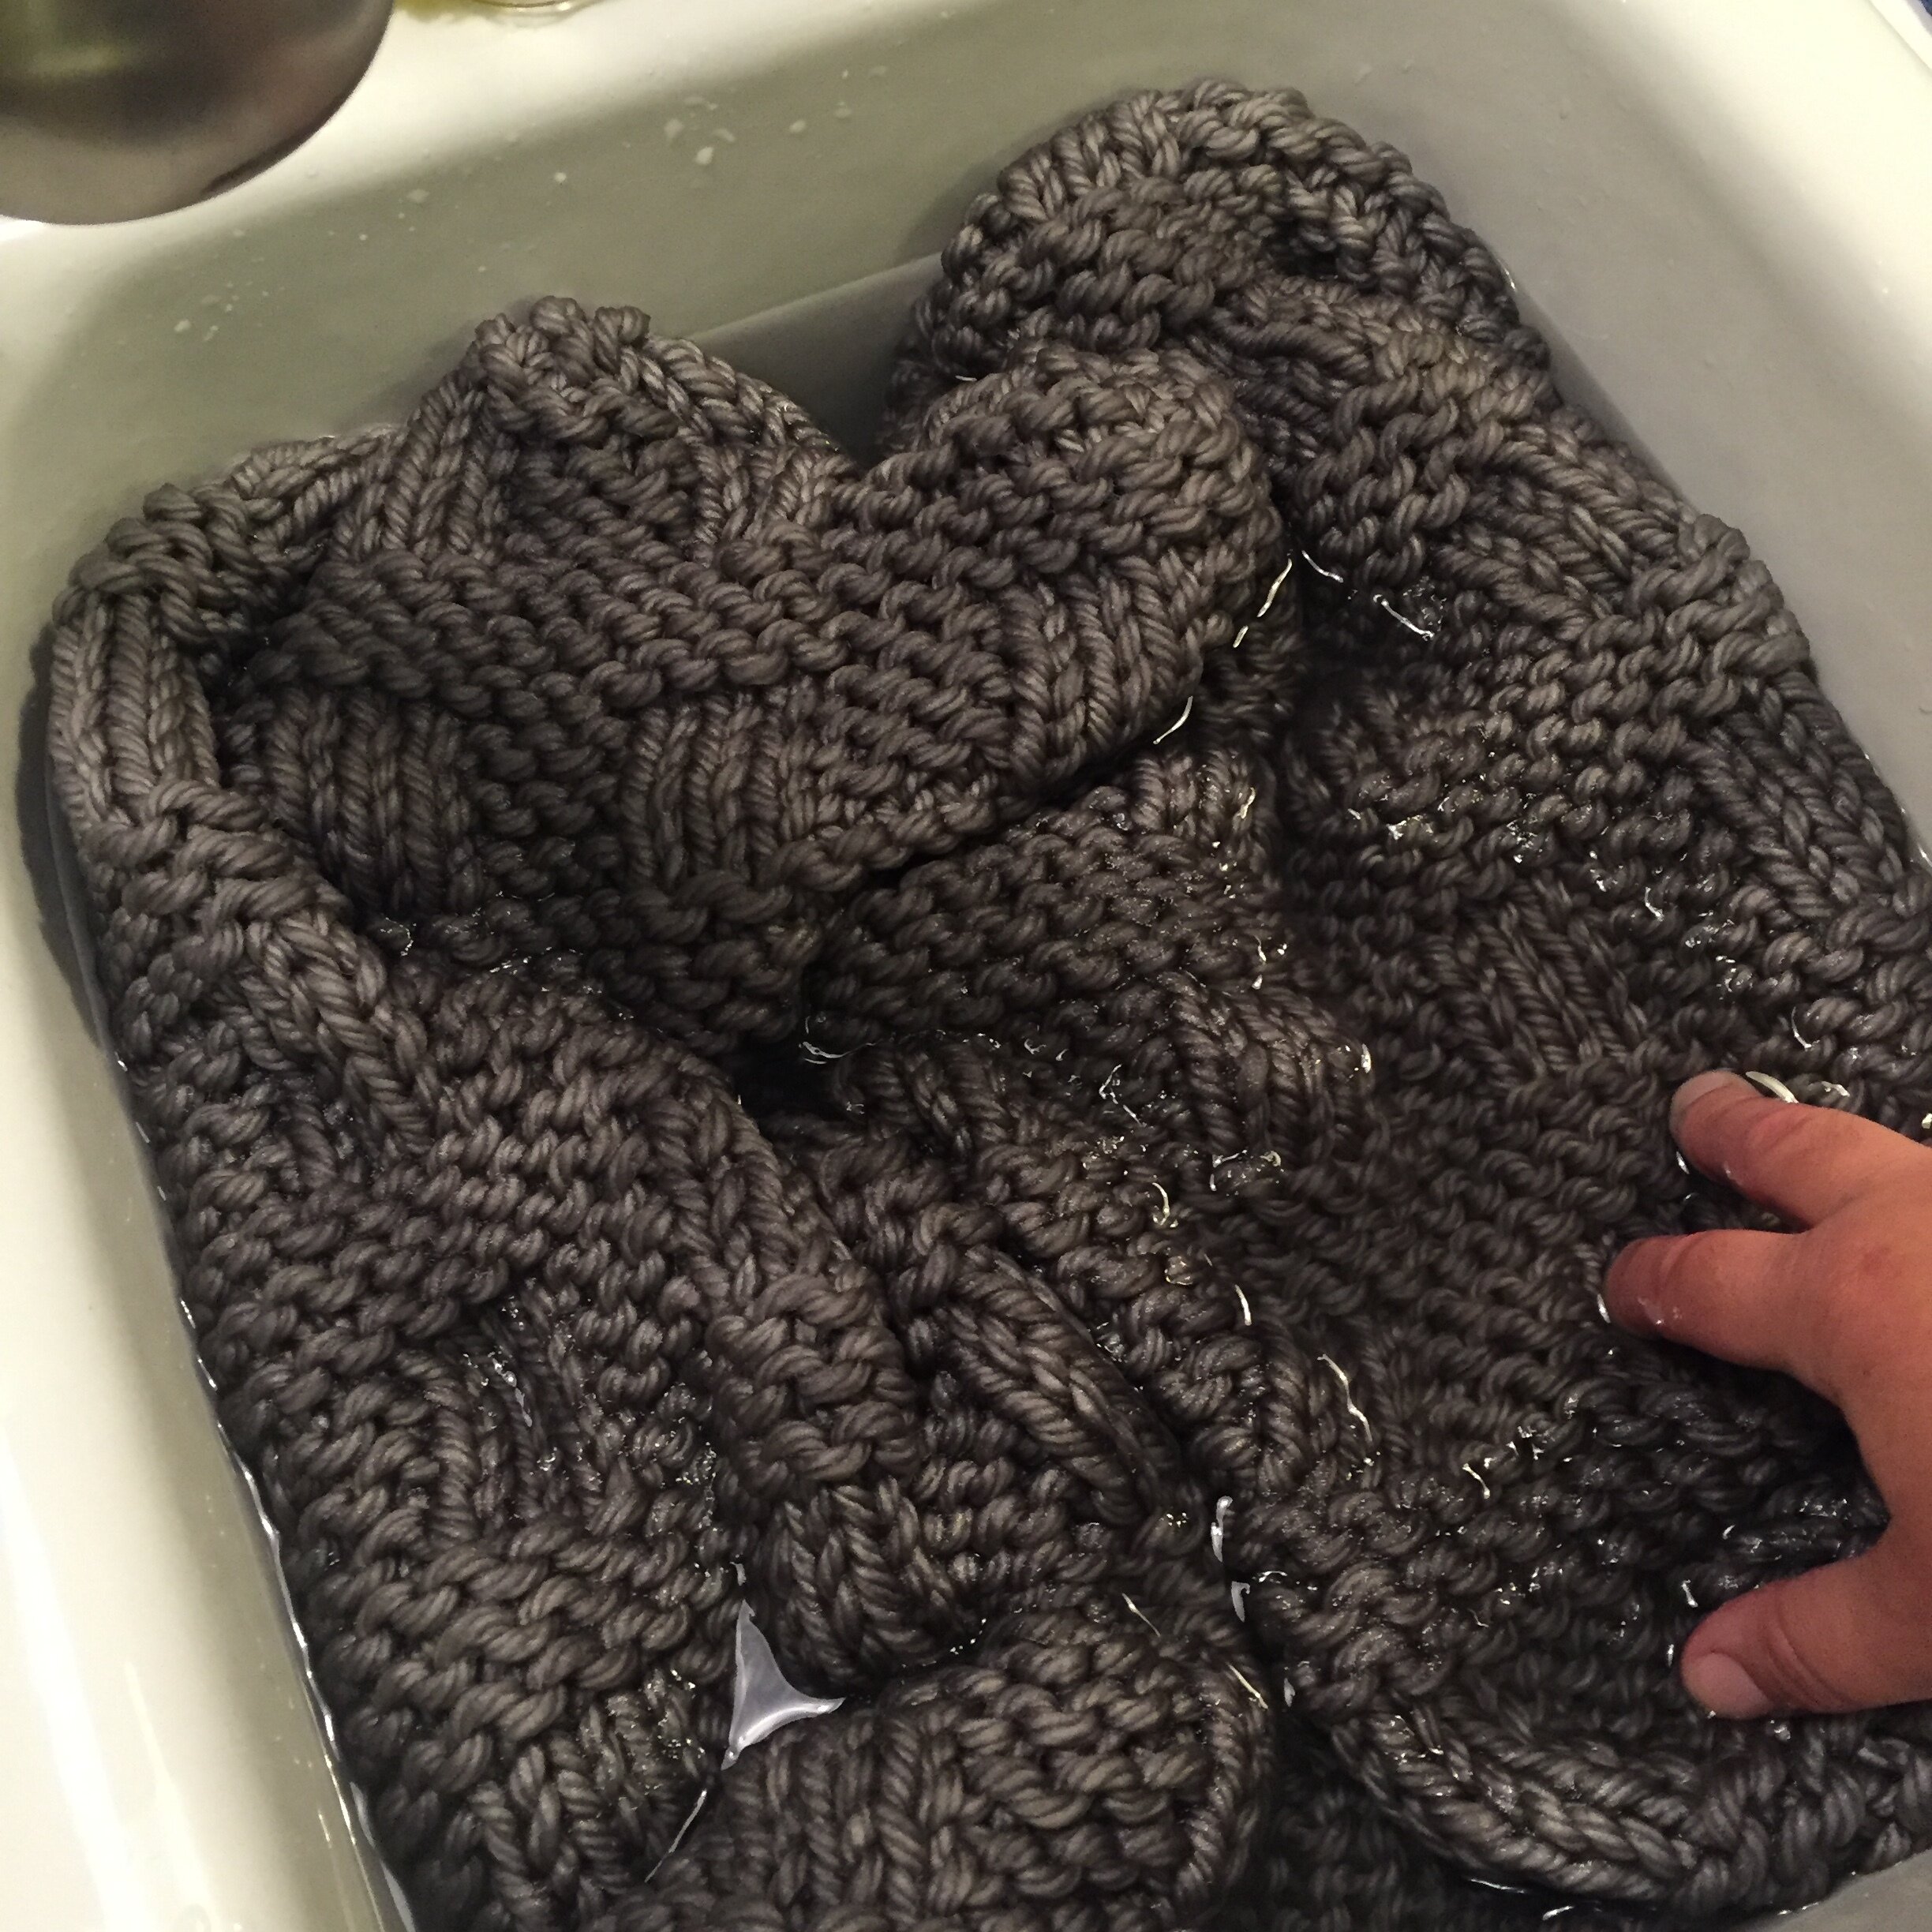
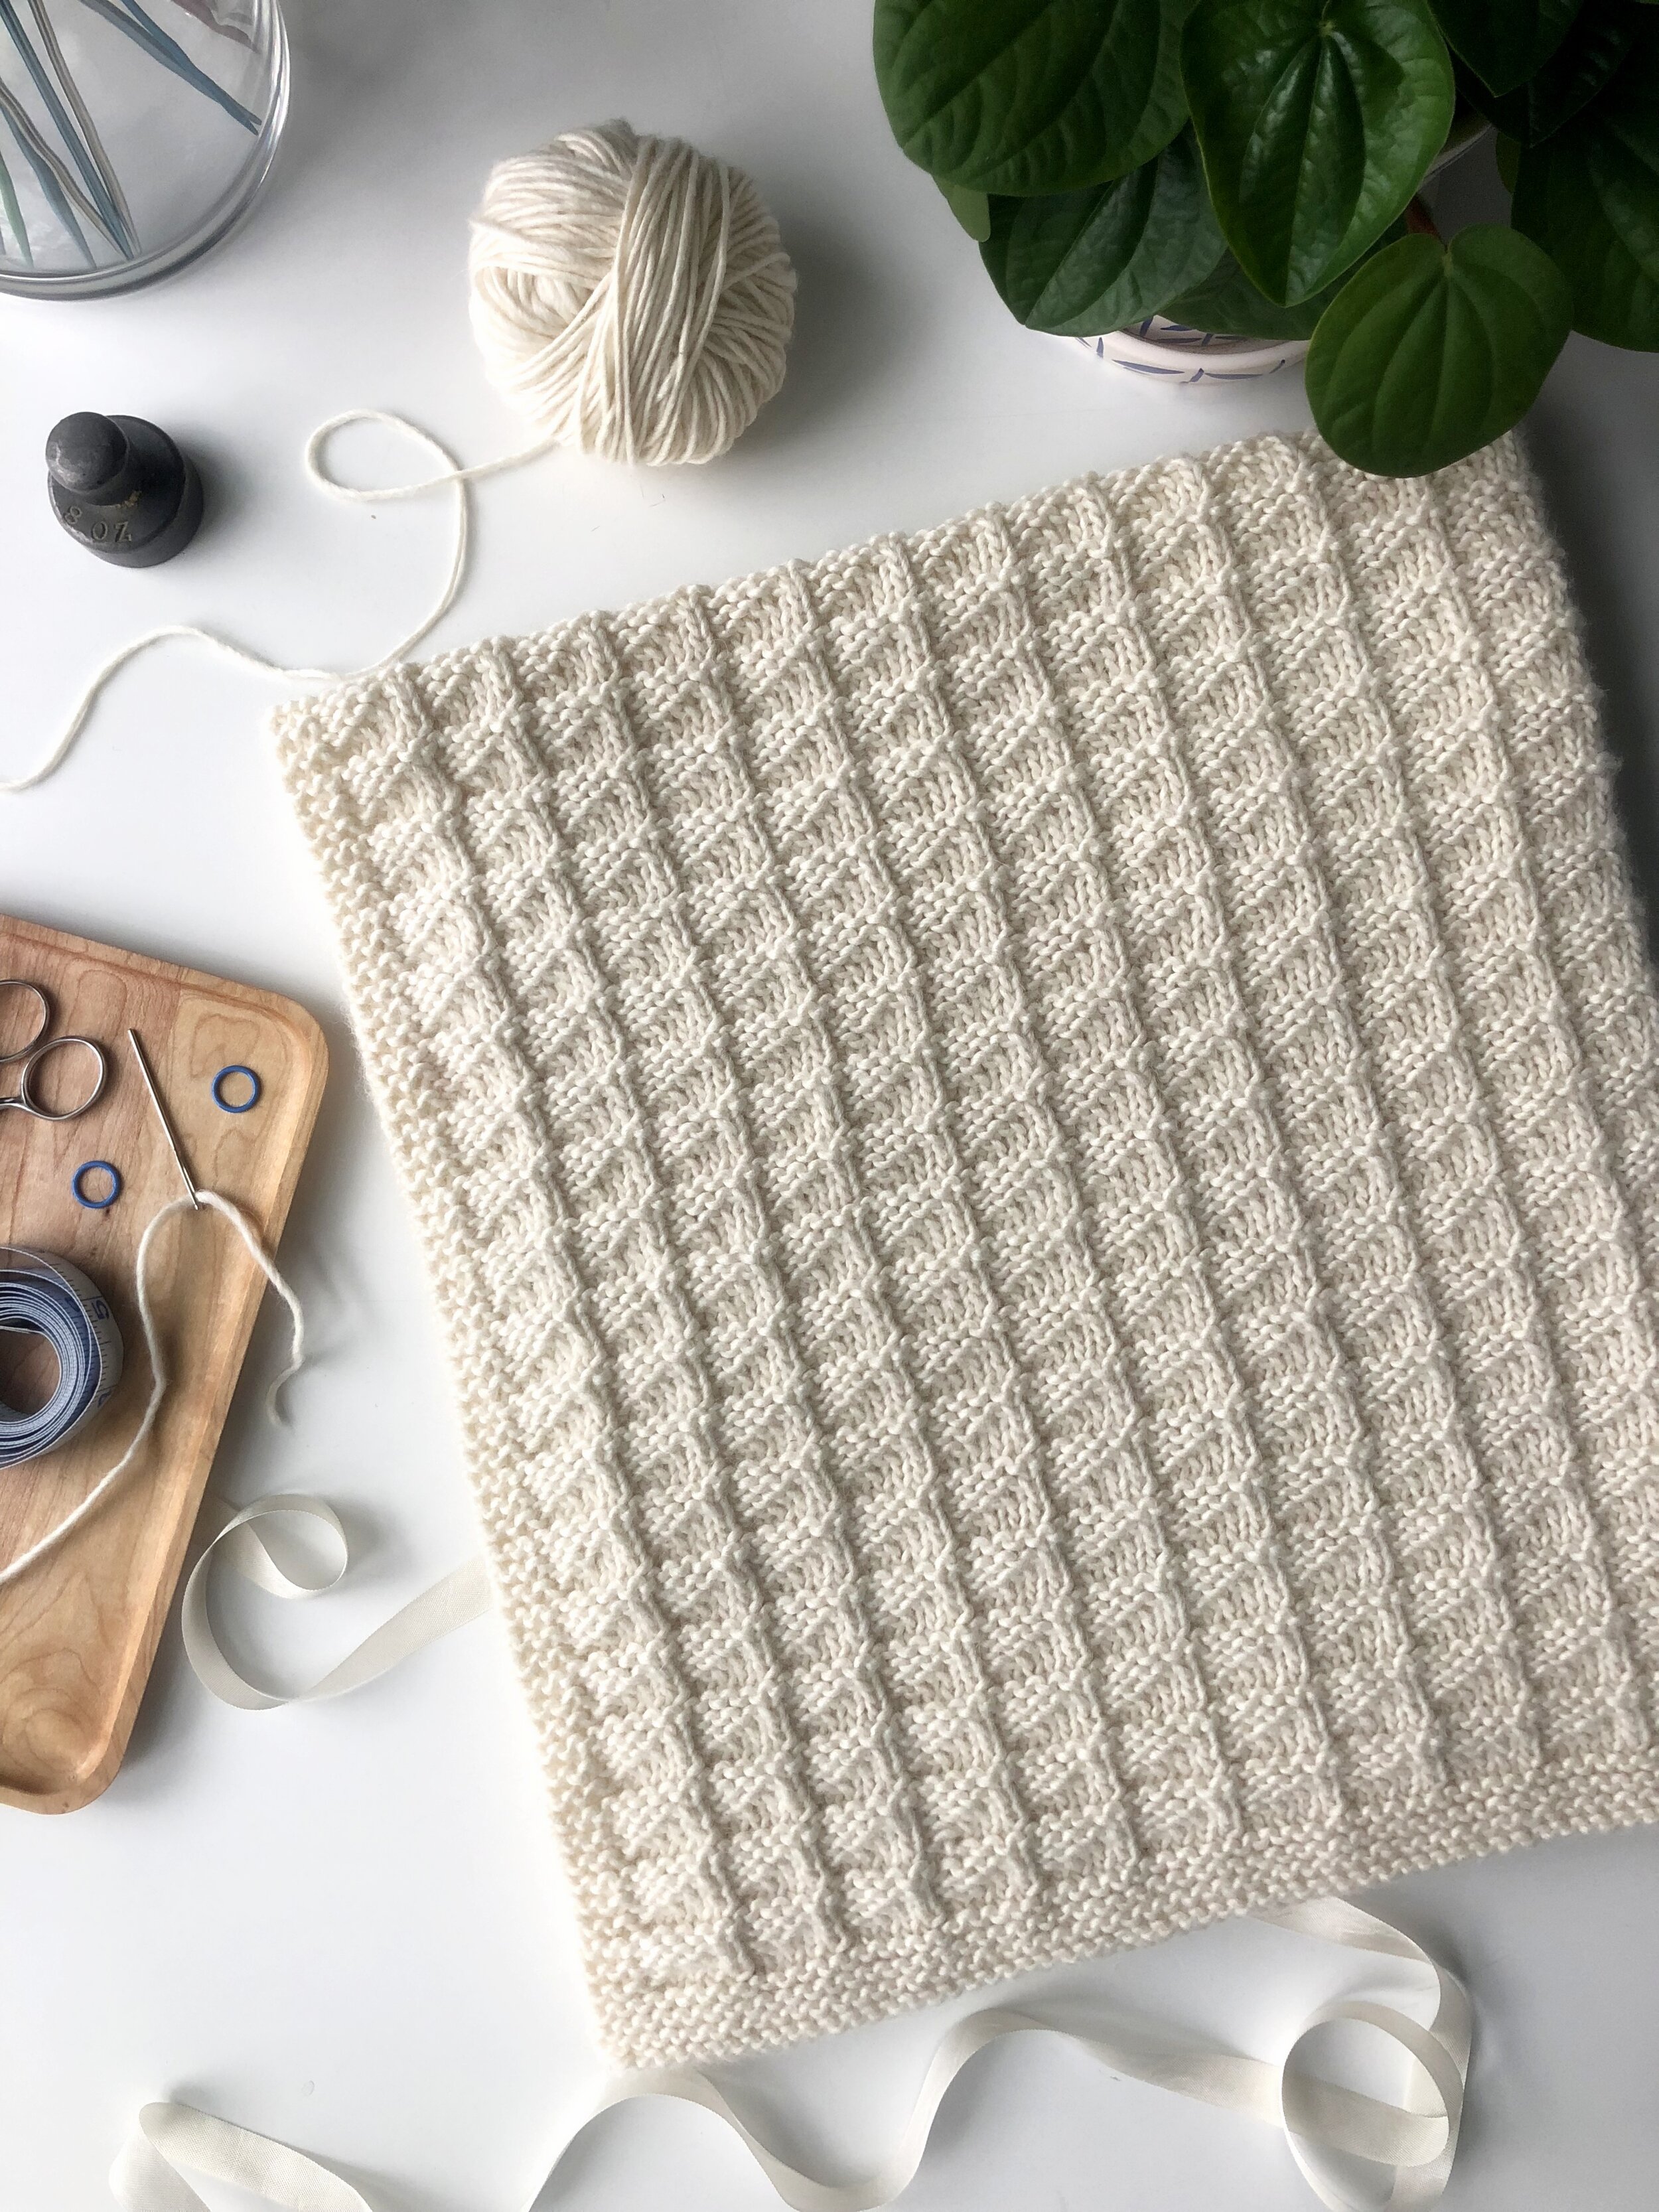
Allow knitting to sit submerged in cold water for about 20 minutes. This is my Westport Blanket knitting pattern.
3. Allow the water to drain out by pulling the plug in the sink or transferring knitting to a large colander. Let the knitting sit for a few minutes to allow excess water to drain off a bit. Gently press out water but do not wring or twist the knitting.
Allow water to drain out of sink. Let blanket sit for a few minutes to drain excess water.

For small knitting projects such as a scarf or little blanket, I use a colander to drain off some of the excess water. (This is my Room with a View scarf.)
4. Carefully transfer knitting to an old towel, on an water resistant surface, to soak up excess water. Do not wring or twist the knitting.
Be sure to use a towel that is similar in color to your yarn...or one that will not transfer color to your yarn. (In other words, don't use a red towel with white yarn or the knitting could become pink!)

Transfer knitting to an old towel to soak up excess water. This is the first square of the Traveling Afghan sampler project.
5. Set up blocking mats on a carpeted or water resistant floor (don't set up on hardwood floors!). Or, if you have space, set them up on a craft table or counter top with a water resistant surface.
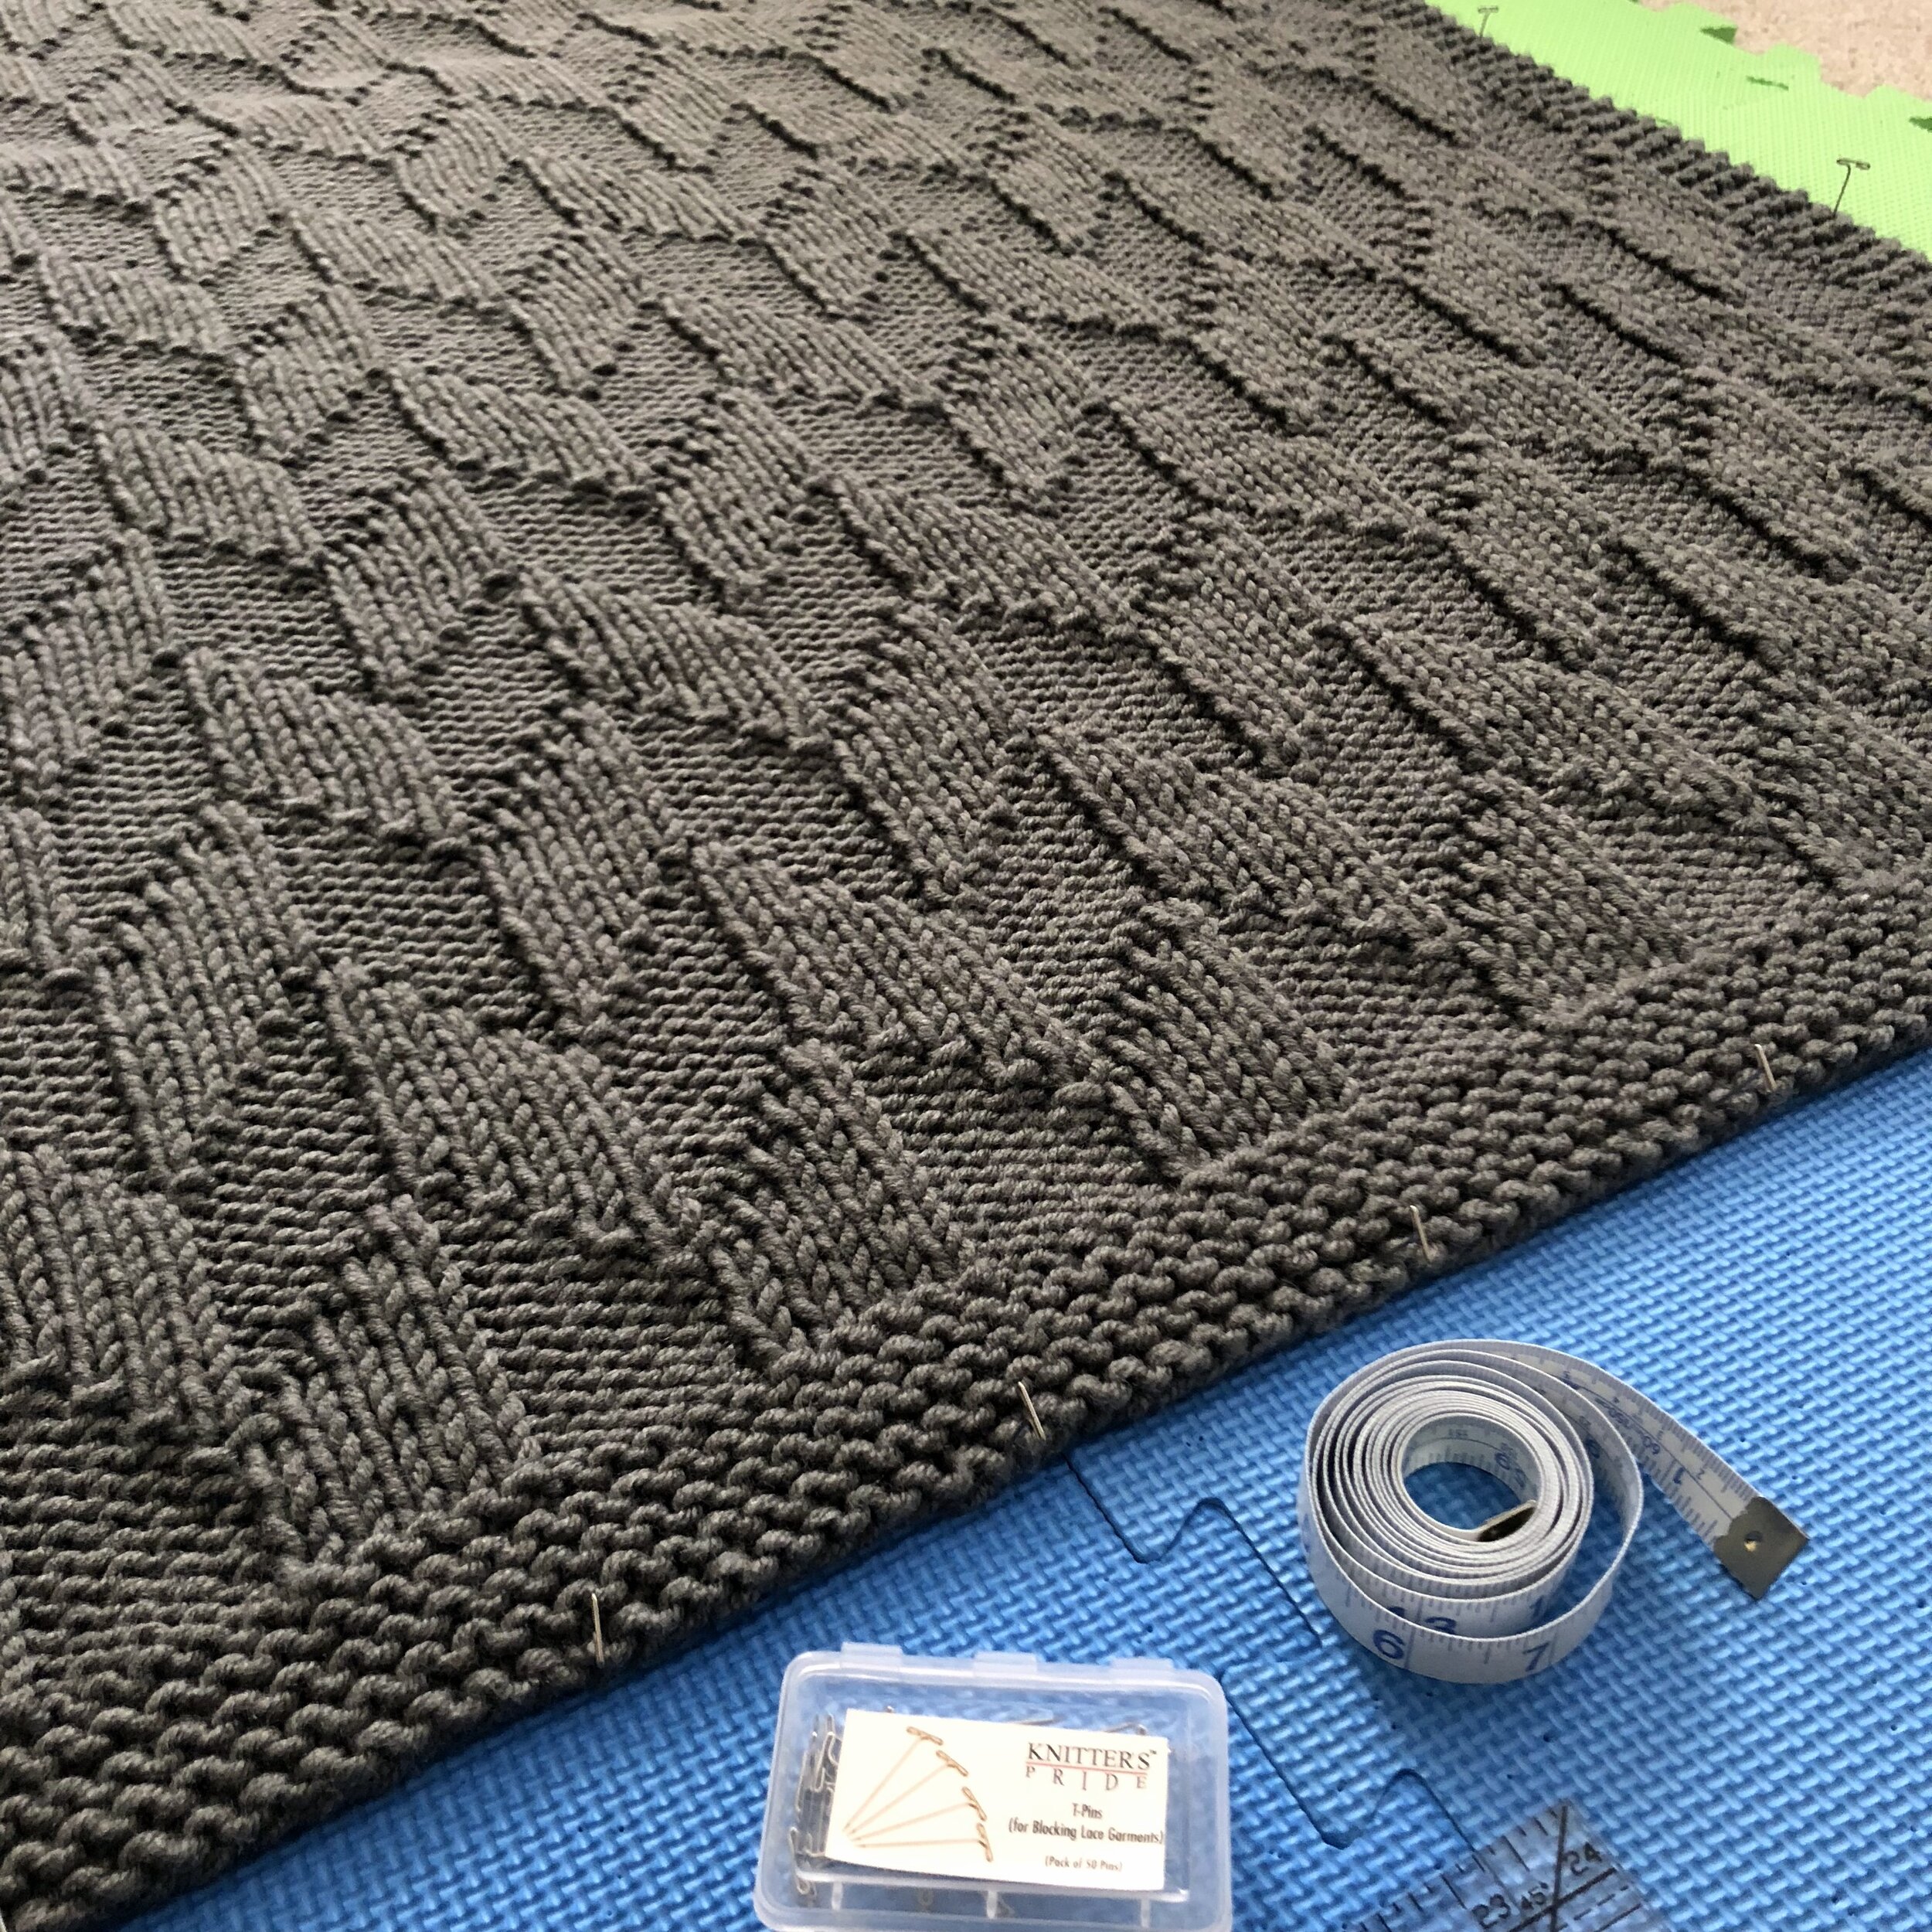
There are many options for blocking mats! I recently purchased this boxed set from Hephaestus Crafts that includes nine 12” white mats with grid lines, blocking pins and a tape measure.
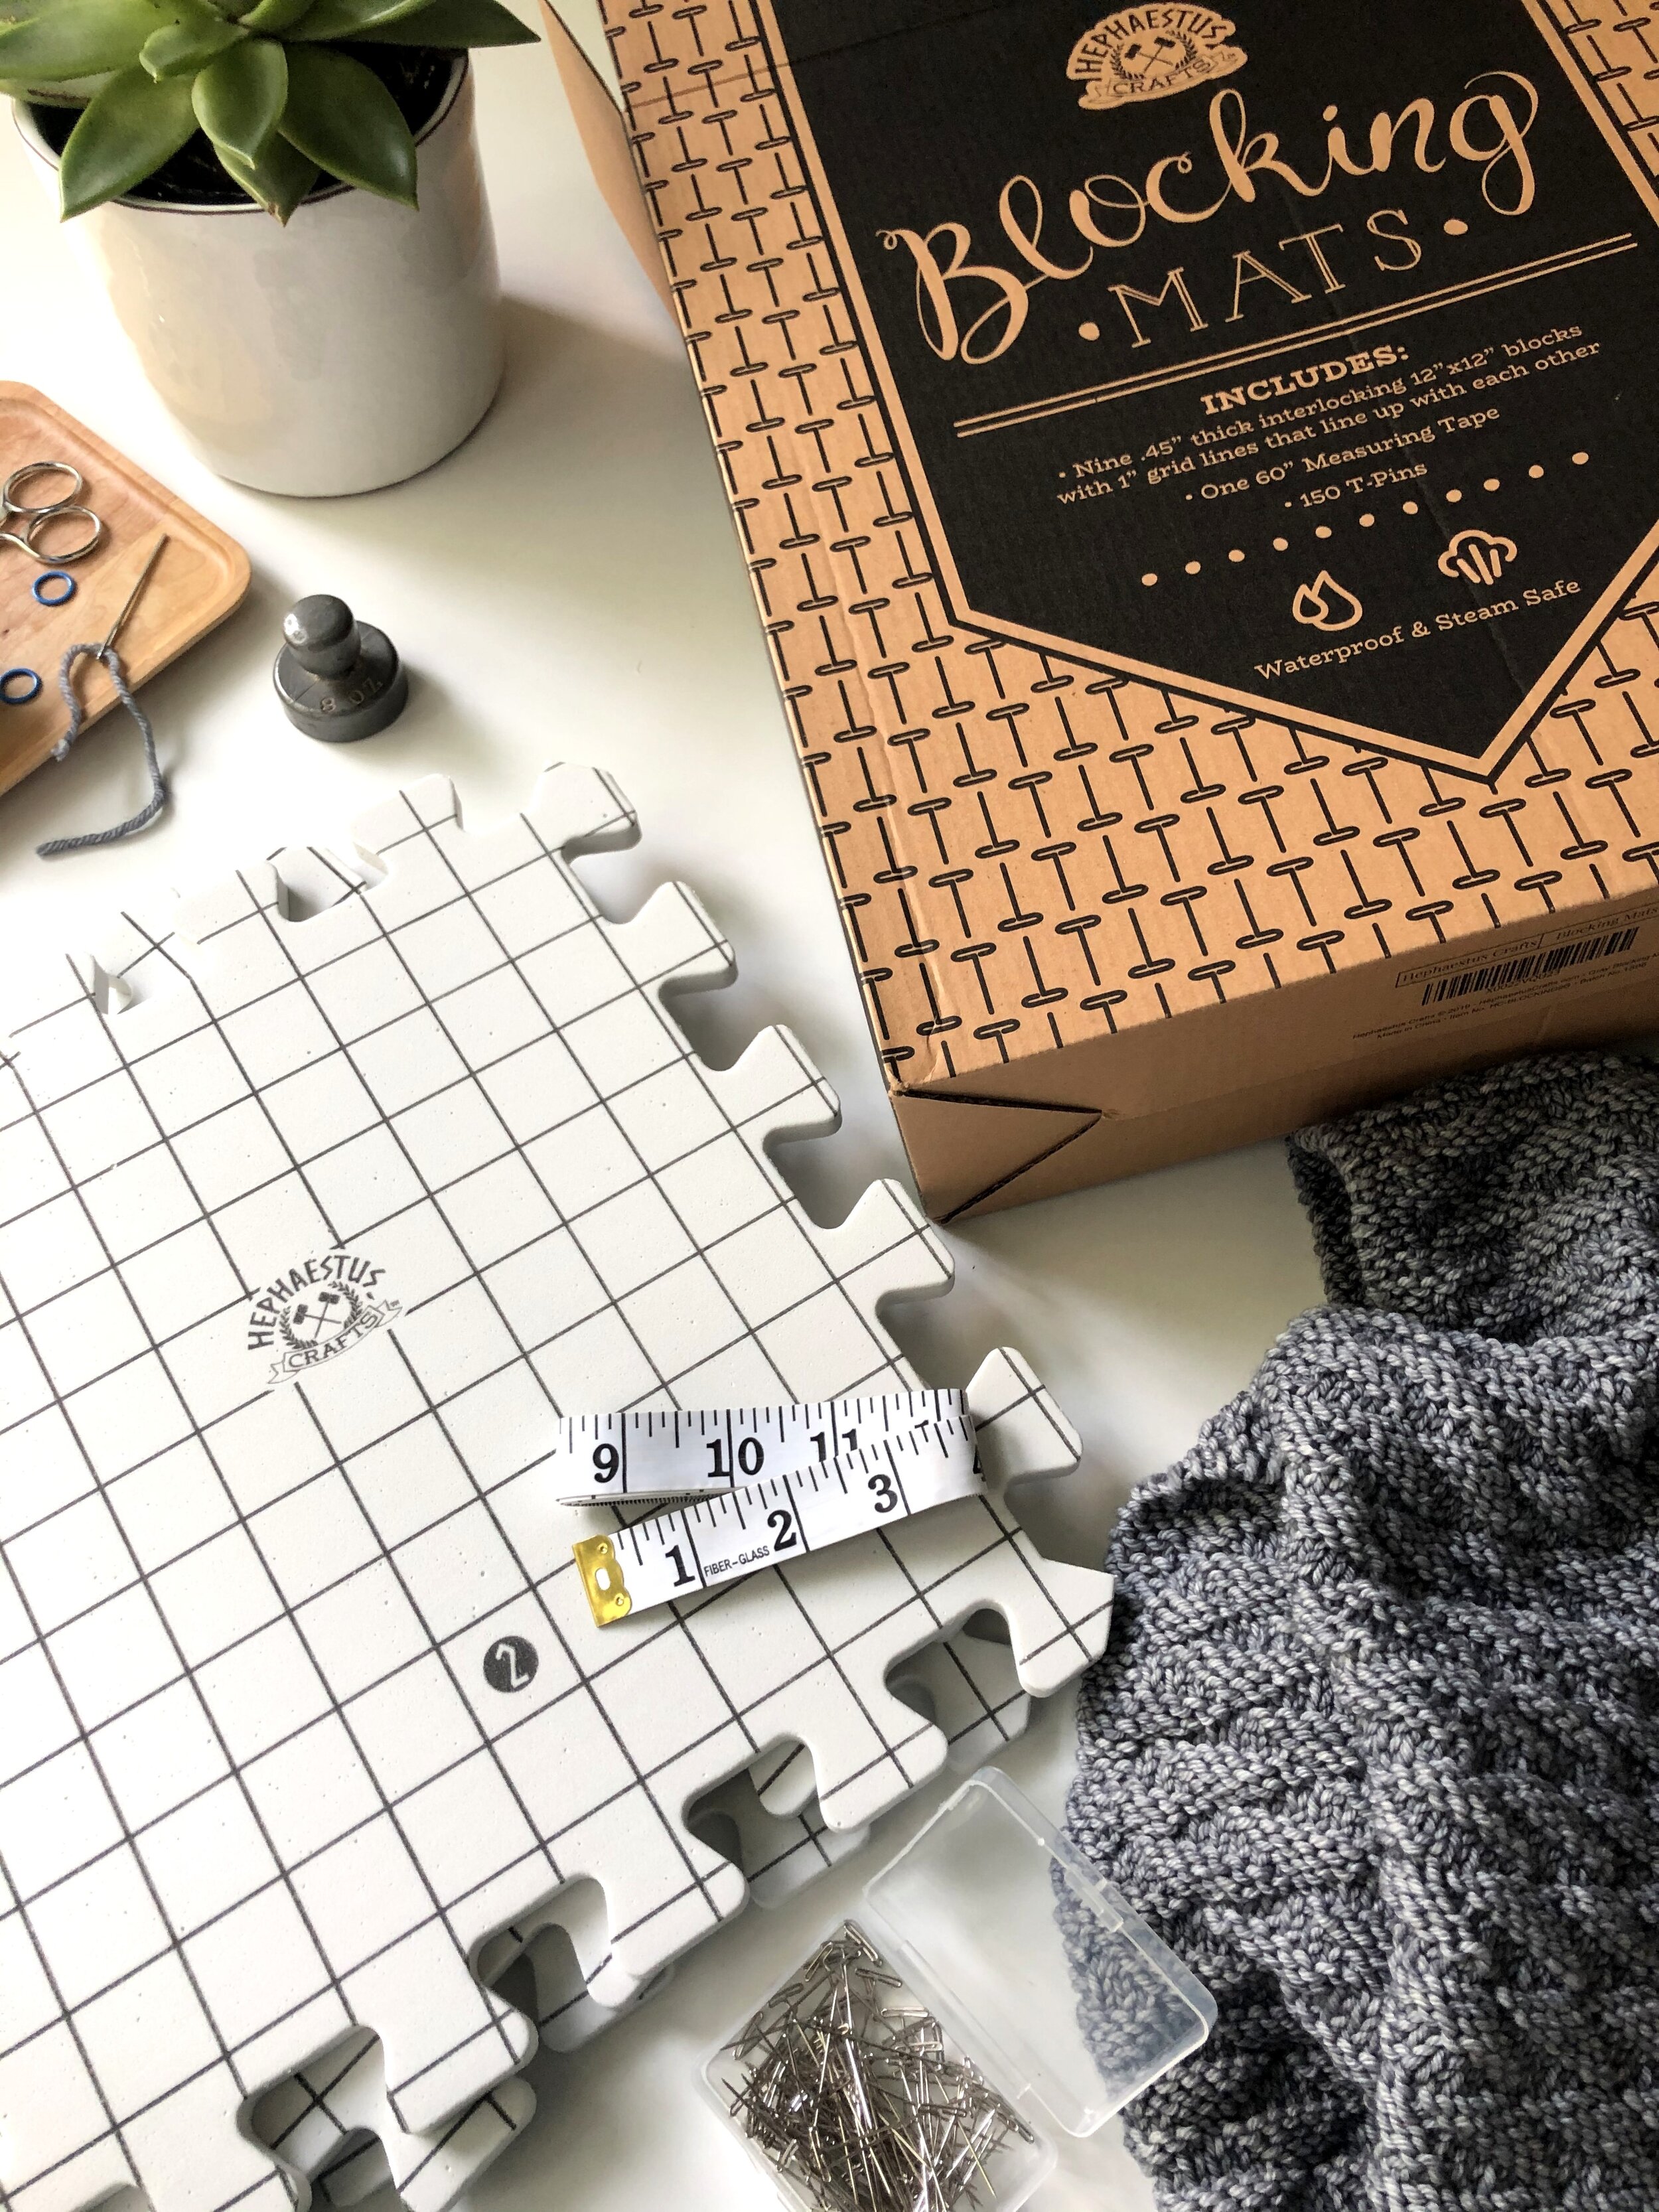
Update: I recently purchased this Hephaestus Crafts blocking mats set. This attractive boxed set includes 9 white mats with 1” grids, a box of 150 T-pins and a nice tape measure. It’s a great set!
Update: Blocking mats with 1” grid lines make it so easy to line up a scarf or blanket project so the edges are neat and straight. Here’s a link to see the Hephaestus Crafts blocking mats set I purchased. I’m not sure why I waited so long to get these grid mats!
More options for blocking mats designed for knitters:
Knit Picks offers a set of nine 12"x12" light grey square mats that includes a box of 100 T-pins and a storage bag. The mats have 1” square grid lines to help line up all those straight edges of your project.
This KnitIQ set features extra thick mats, grid lines and a box of T-pins.
This blocking mat set includes both 1” grid lines as well as circular markings for blocking round or curved projects such as shawls.
The Woolery (an online shop based in Kentucky) offers the Knitter’s Pride Blocking Mat Set as well as a neat set of Knitters Pride Rainbow Blocking Pins.
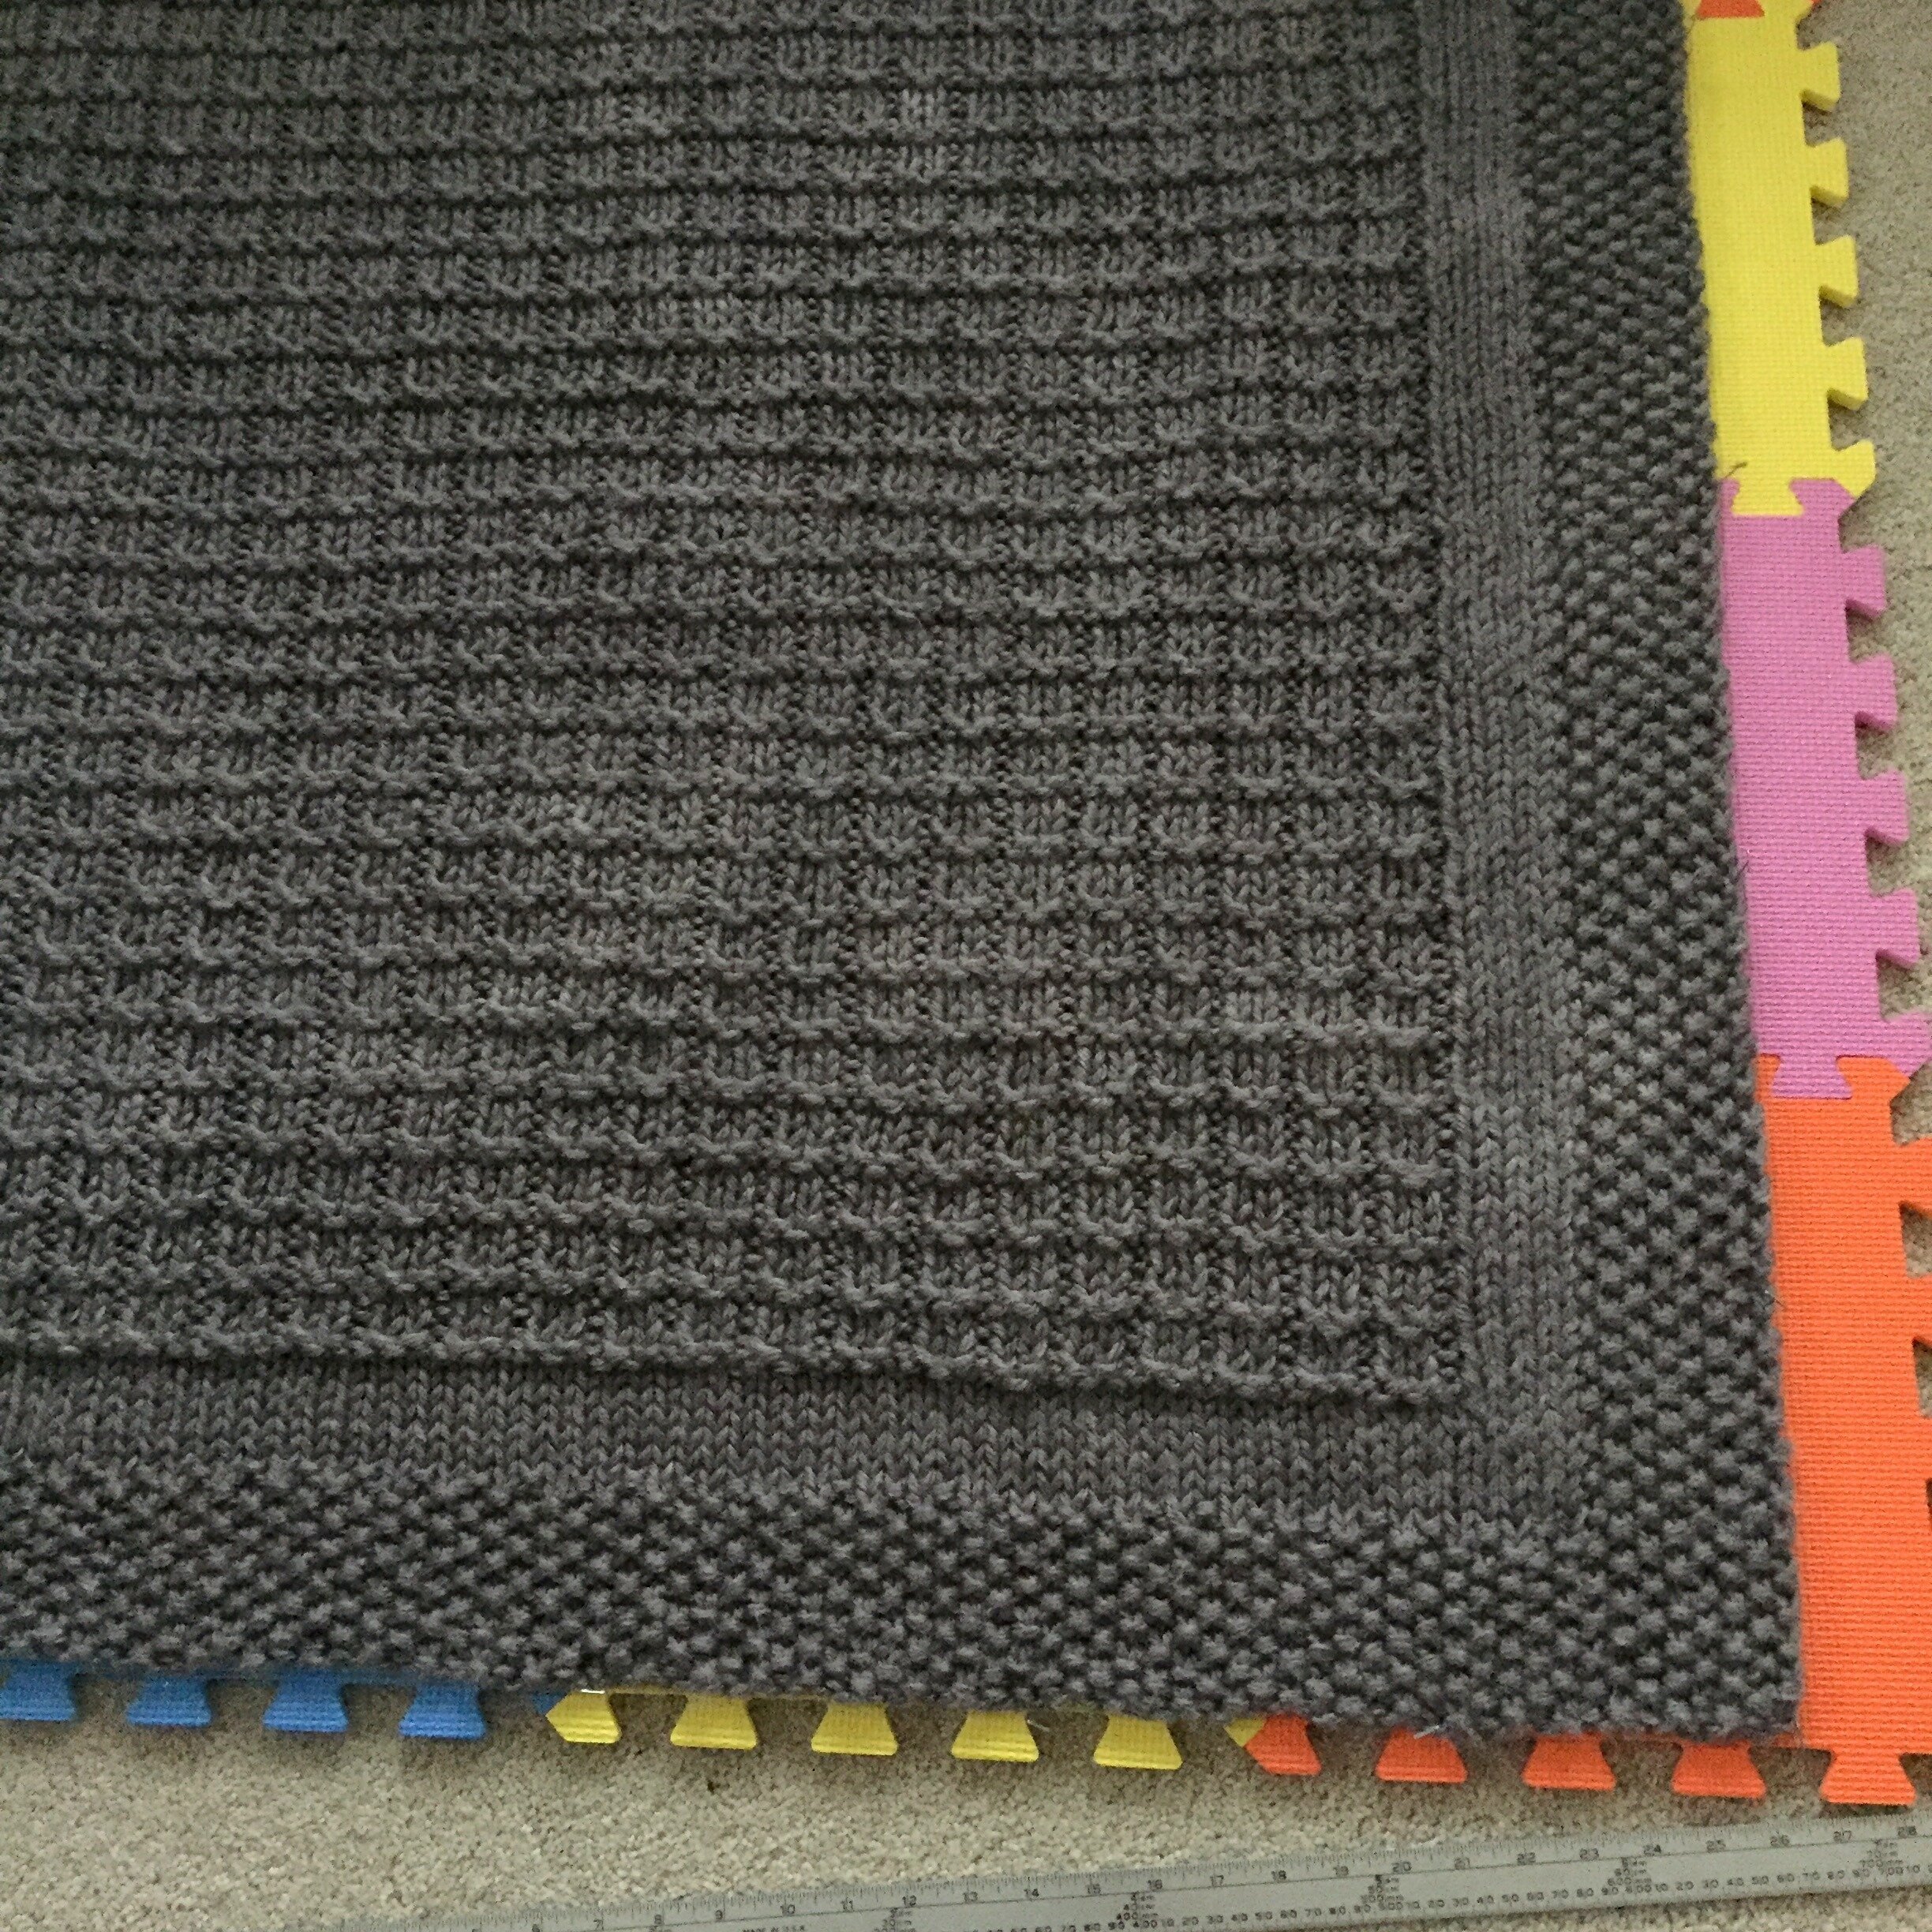
I have used two sets of POCO-DIVO "child play mats" to block many of my blanket and scarf projects. Each set includes nine 12" square mats that fit together like puzzle pieces. I have two sets so I have enough pieces to make a mat large enough to block large blankets. These were the most inexpensive option I could find when I purchased them.
Another idea I learned from one of my customers is to use yoga mats or exercise foam mats for blocking... what a great 'multipurpose' idea!
If you do not have blocking mats... it is definitely possible to have good results without them. You can set your project up on old towels or a sheet. Make sure the surface underneath is water resistant! Before I purchased a set of blocking mats, I blocked my Belleview Blanket without mats or pins... photo below.

Blocking without mats or pins can work, too. Just be sure that the surface underneath is water resistant! I set up my Belleview Blanket on my studio table.
6. Carefully unfold the wet knitting and spread it out on the blocking mat. At first your knitting will likely look a bit messy and uneven...

Place knitting on blocking mats...but don't leave it like this!
7. Next, adjust the knitting so that the stitches on the edges and in the center are straight and even (or the desired shape). Use the edges of the mat and a ruler as a guide to make the edges are very straight.
Take your time on this step.
Watch out for stretchy yarn! Some yarns can really stretch when wet so be sure to adjust the knitting to match the desired gauge. The goal of blocking is to train the knitting to the desired appearance…so make sure it’s pinned to the desired gauge. Use the finished dimensions listed in the pattern as a guide. This might require a lot of "nudging" the stitches closer together if the knitting stretched out.

Sometimes I use a plastic quilting ruler to adjust the stitches and ‘nudge’ them into a straight line. This technique was really helpful with my ‘All These Places’ blanket project.
Adjust knitting so edges & center of knitting are straight and even. The blanket shown here is my Over the Rooftops knitting pattern. Click to see how this blanket looks after blocking.
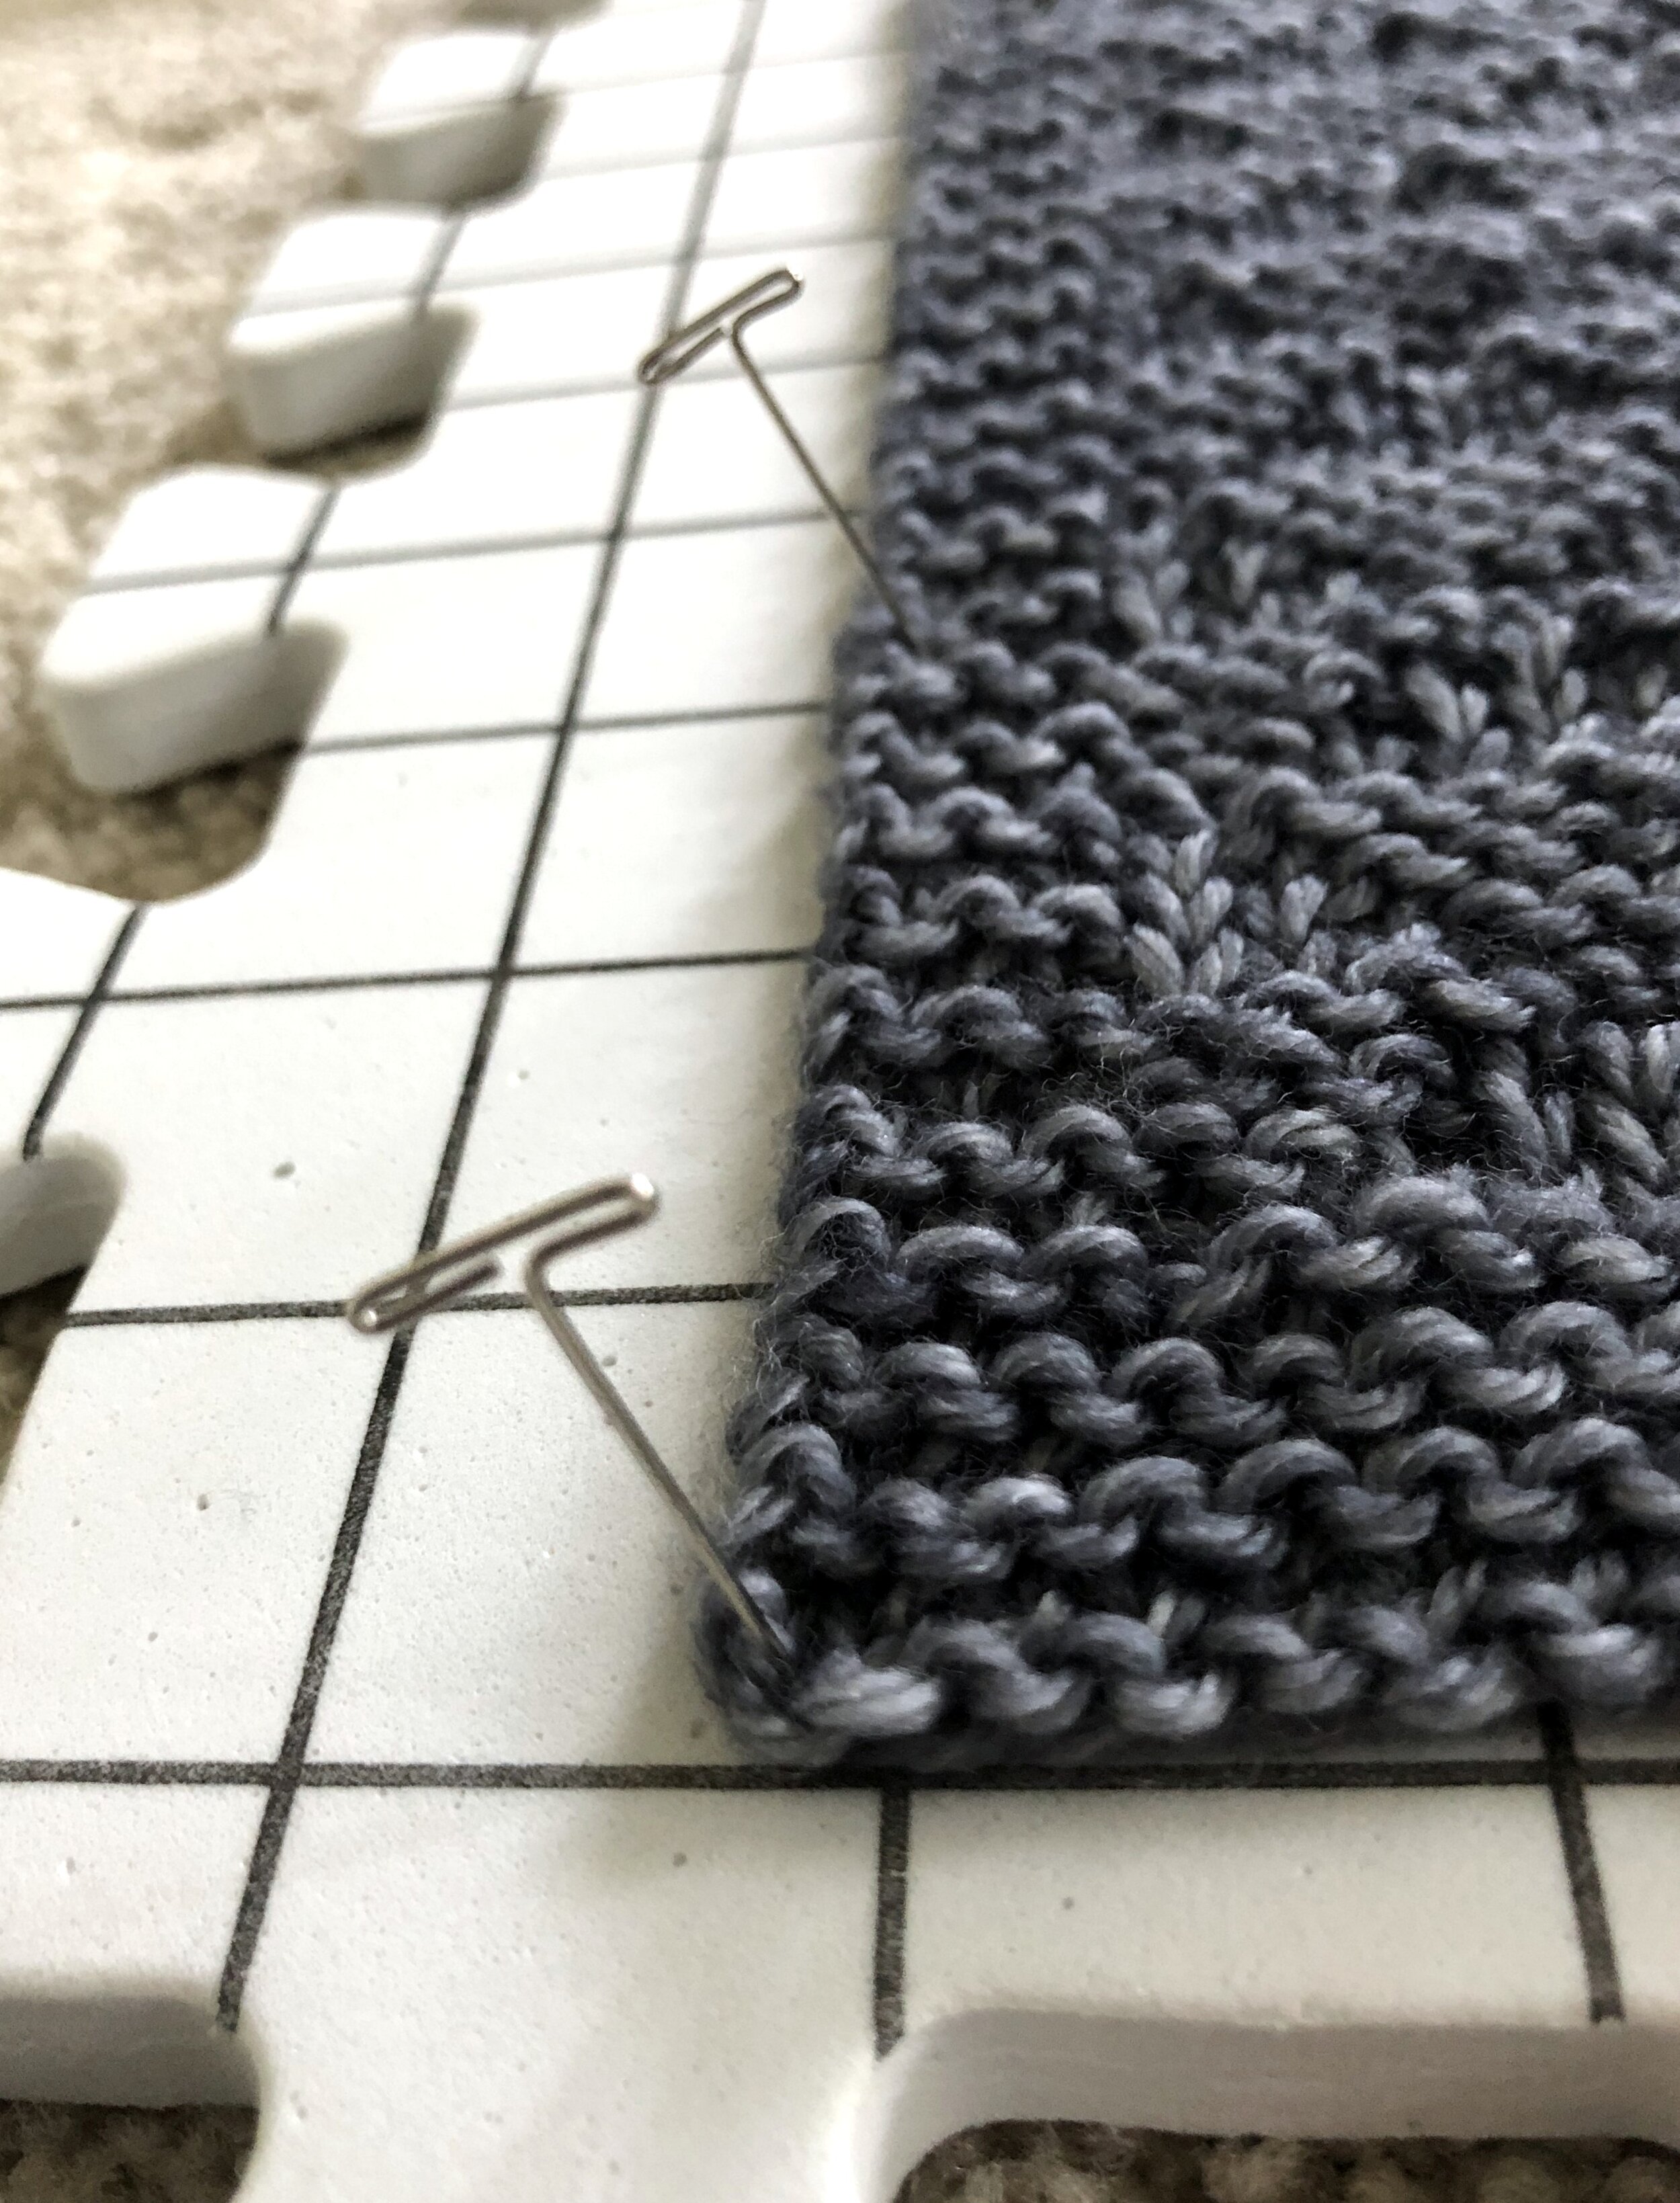
8. Pin the edges in place using rust resistant T-pins or other blocking pins.
After arranging the knitting neat and square…pin in place. Together Again blanket pattern shown here. I use Knitter’s Pride rust resistant T-pins.
9. Allow knitting to dry. If desired, set up a small fan to expedite the drying process. A worsted weight knitting project may dry within about a day. However, a large blanket knit with super bulky yarn may take 2 to 4 days to dry depending on the yarn, air temperature, etc. It's worth the wait!
10. Enjoy your finished knitting project!

Click here to see my collection of knitting patterns for blankets, scarves, pillows and more!
WHY IS BLOCKING NECESSARY?
You might be wondering…why should I block my knitting project? Here's a few thoughts...
Some projects will look just fine without blocking. But, many projects look so much better after blocking.
Here's one of my favorite before and after blocking comparisons...
Before I blocked my 'Dance on the Breeze' blanket the stockinette stitch section was puckering and the blanket looked a bit 'lumpy' and unattractive.
After blocking... the stockinette stitch area is completely flat and smooth... almost like it was ironed! The puckering situation was eliminated. The seed stitch border is neat and square.

Before and after blocking my Dance on the Breeze Blanket. The stockinette stitch section of the inner border is smoothed out and the seed stitch border is neat and square.
Blocking made a huge difference in the appearance of my These Days Blanket. Before blocking the border was very unattractive.
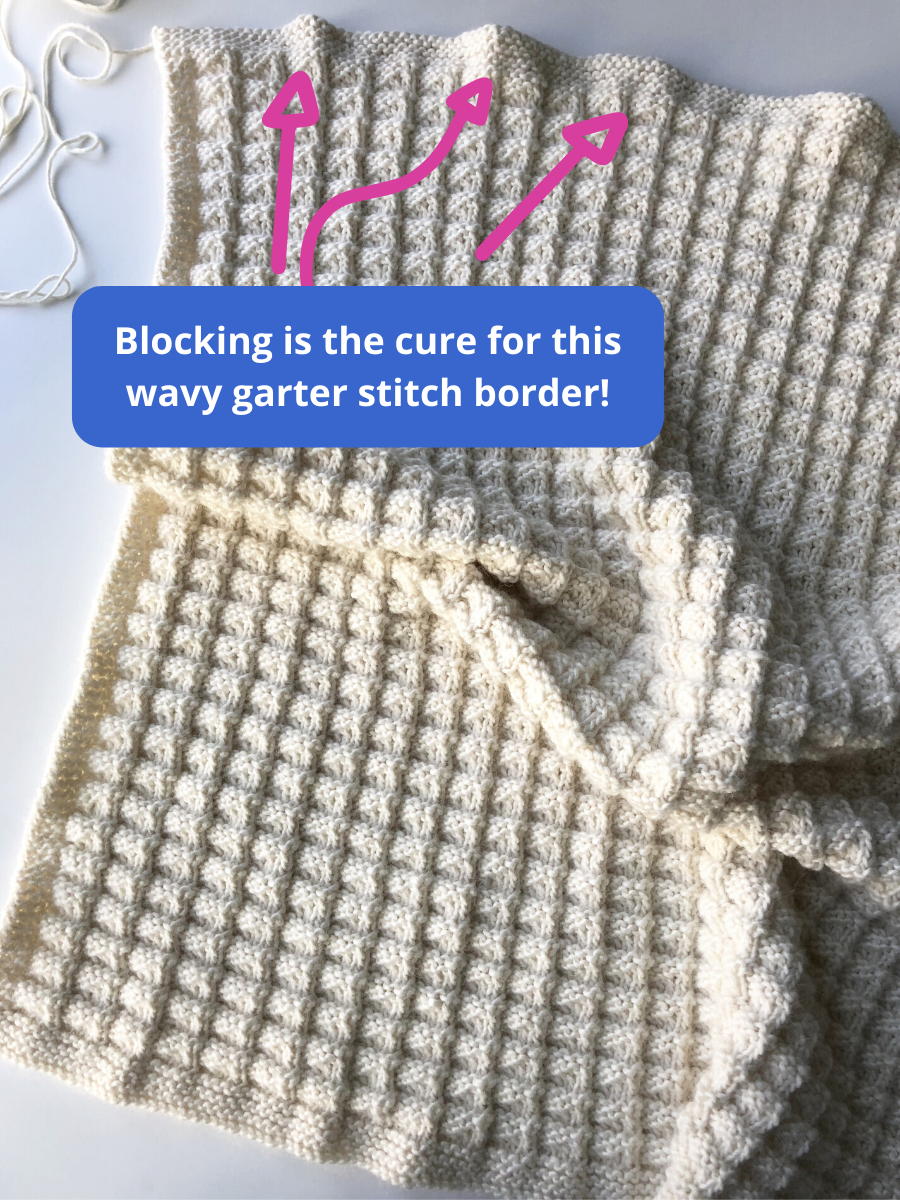
When I finished knitting my These Days Blanket the garter stitch border was wavy, lumpy and unattractive. And, the side borders did not lay flat. Blocking fixed all of these issues!
After blocking…the edges of this blanket are neat and attractive. See lots more photos on the blog post about the These Days Blanket design. Click here to purchase this blanket knitting pattern.
Click here to shop my collection of PDF digital download knitting patterns.
I admit that I had never blocked any knitting projects until about four years ago. I have been knitting since I was about 8 years old and worked in a yarn shop in college...and in all my years of knitting (including the many sweaters I made years ago!) I never learned to block my knitting.
Now I block almost every project and I continue to be amazed at how much better my project looks after taking the time to block the knitting.
I hope this tutorial is helpful to you!
Happy knitting!

NEW! CUTE GIFTS FOR KNITTERS:
I’m excited to announce that Fifty Four Ten Studio now has a Zazzle Shop that offers cute, thoughtful gifts for knitters including knitting themed tote bags, coffee mugs, inspiring journal notebooks, and more! I’ve had so much fun designing graphics for my Zazzle Shop products. Click here to visit the Fifty Four Ten Studio Zazzle Shop. Thanks for taking a minute to check it out!

These knitting themed project tote bags, as well as other cute gifts for knitters, can be purchased from the Fifty Four Ten Studio Zazzle Shop.